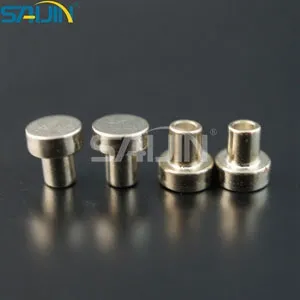
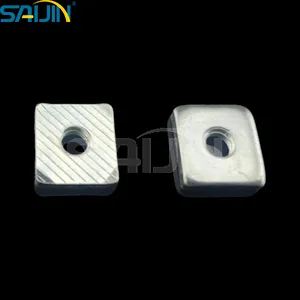
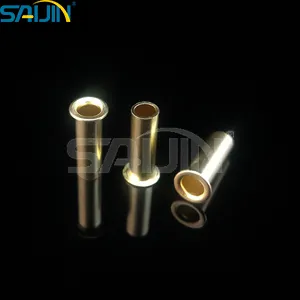
Tungsten rivets are renowned for their high strength, hardness, and resistance to extreme temperatures, making them a popular choice in various industries such as aerospace, automotive, and electronics. However, to fully utilize their excellent properties, it is crucial to install them correctly. Here is a step - by - step guide on how to install tungsten rivets correctly.

1. Preparation
Material and Tool Selection
First and foremost, select the appropriate tungsten rivets according to the specific application. Consider factors such as the thickness of the materials to be joined, the required strength of the joint, and the environmental conditions. The diameter of the rivet should be chosen based on the thickness of the materials; generally, a thicker material requires a larger - diameter rivet.
Gather the necessary tools. You will need a drill with the correct drill bit size for creating holes in the materials, a rivet gun or a hammer and a bucking bar for riveting, and safety equipment like safety glasses and gloves.
Surface Preparation
Clean the surfaces of the materials where the rivets will be installed. Remove any dirt, grease, or rust, as these can affect the quality of the joint. You can use solvents, sandpaper, or a wire brush for cleaning. Ensure that the surfaces are flat and smooth to ensure proper contact between the rivet and the materials.
2. Drilling Holes
Hole Size Determination
The size of the holes drilled in the materials is critical. The hole diameter should be slightly larger than the diameter of the rivet shank to allow for easy insertion. As a general rule, for a standard tungsten rivet, the hole diameter is usually about 0.1 - 0.2 mm larger than the rivet shank diameter.
Drilling Process
Mark the positions where the holes will be drilled on the materials. Use a center punch to create a small indentation at each marked point. This will prevent the drill bit from slipping during the drilling process. Secure the materials firmly in place using clamps to avoid movement.
Select the appropriate drill bit and insert it into the drill. Start drilling at a slow speed to ensure accuracy. As the drill penetrates the material, gradually increase the speed. Make sure to drill straight through both materials to ensure that the holes are aligned. After drilling, deburr the holes to remove any sharp edges.
3. Inserting the Rivet
Rivet Inspection
Before inserting the rivet, inspect it for any defects such as cracks or deformities. A defective rivet may not provide a reliable joint and can lead to failure.
Insertion
Carefully insert the rivet into the pre - drilled holes. The rivet should fit snugly but be able to slide through the holes without excessive force. Ensure that the rivet head is flush against the surface of one of the materials.
4. Riveting Process
Using a Rivet Gun
If you are using a rivet gun, place the jaws of the gun over the rivet tail. Squeeze the handles of the rivet gun firmly. As you do so, the gun will pull the mandrel (the thin rod in the center of the rivet) through the rivet, causing the rivet to expand and form a second head on the opposite side of the materials. Continue squeezing until the mandrel breaks off at the pre - scored point.
Using a Hammer and Bucking Bar
If a rivet gun is not available, you can use a hammer and a bucking bar. Place the bucking bar against the end of the rivet tail on the opposite side of the rivet head. Strike the rivet head gently but firmly with the hammer. The force from the hammer will cause the rivet to deform and spread against the bucking bar, forming a second head. Make sure to strike the rivet evenly to ensure a uniform and strong joint.
5. Inspection
After the rivet has been installed, inspect the joint. Check that the second head is well - formed and has a proper shape. The joint should be tight, and there should be no visible gaps between the materials. Also, ensure that the rivet is not loose or wobbly. If any issues are found, the rivet may need to be removed and reinstalled.
In conclusion, installing tungsten rivets correctly requires careful preparation, precise drilling, proper insertion, and a well - executed riveting process. By following these steps, you can ensure a strong and reliable joint that will meet the requirements of your application.


